
- From the main menu, click on Backup/Restore.
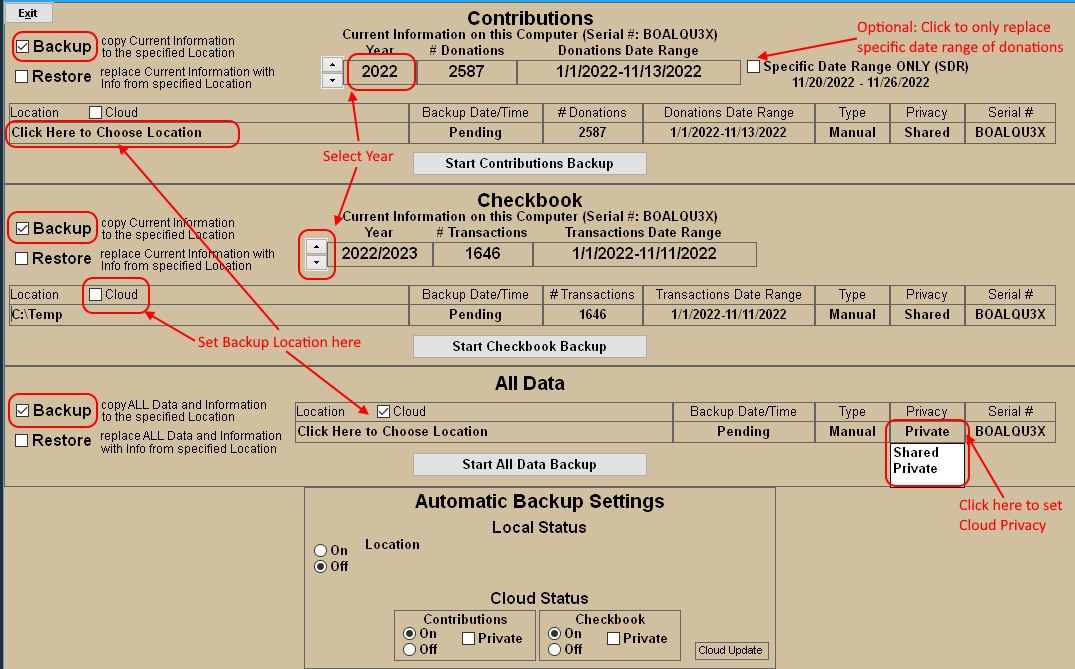
- If making a Contributions or Checkbook Backup, then select the applicable Year by clicking the up/down arrows.
- Click the BACKUP box in the upper-left corner of the Contributions, Checkbook or All Data boxes
in order to select the type of data to backup.
One or more of these boxes may not be visible if the user does not have the necessary privileges.
Note: The ALL DATA option is typically only used when the user wishes to move or copy all of the NTS data to another computer.
- If backing up to a USB/flash or external drive, insert the device into the computer.
-
For each selection made above, specify the destination where the data will be stored:
- To specify a Local destination: Click inside the box below the word "Location". Next, a Folder selection dialog box will appear. Select the folder, then click OK.
- To specify a Cloud(Internet) destination: Click the box next to the word "Cloud". The word "Cloud" will appear in the Location box.
- OPTION: If making a Cloud Backup, the user can select the Privacy option by clicking the "Privacy" box and selecting the option(Shared or Private) from the Menu.
- OPTION: If making a Contribution backup and only a Specific Date range of Donations within the specified year needs to be saved, then click the "Specific Date Range ONLY" box and then specify the START and END dates of the desired period by clicking the dates below the SDR box and selecting from the calendar that appears. This option is typically chosen when initial data entry is done on one computer and corrections are made on a second computer.
- Click the "Start Backup" button at the bottom of each selected section. A progress bar will appear showing the status as the files are copied to the destination.
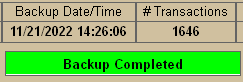
- After files have been copied, the message "Backup Completed" should appear. The Backup Date/Time will
also update.
NOTE: When Backing up Contributions or Checkbook, each year is backed up separately. If more than one year needs to be backed up, then a separate backup needs to be made for each year. Follow the steps above for each year that needs to be backed up. Each backup can be made to the same Destination Location.
The ALL DATA option will backup all NTS data files. This includes Contributions, Checkbook, Payroll, Check Schedule, Loans and other user settings. This backup is often used when recovering from complete data loss or when transferring/copying data to a new computer. Using the ALL DATA backup option to keep two computers in sync with each other is NOT recommended if the user will be modifying data on both computers. If the 2nd computer is only used to View data, then this option is good.